
A Kitchen Transformation in Rolleston-on-Dove
When I’m discussing a kitchen painting project with a client, one question that sometimes comes up is, “Can you do anything with the wooden worktops too?”
It is a service I offer, and it can make a considerable difference to the overall transformation. Freshly painted cabinetry deserves worktops that look equally well cared for. Often, the existing timber has plenty of life left in it—it simply needs careful preparation and a renewed finish.
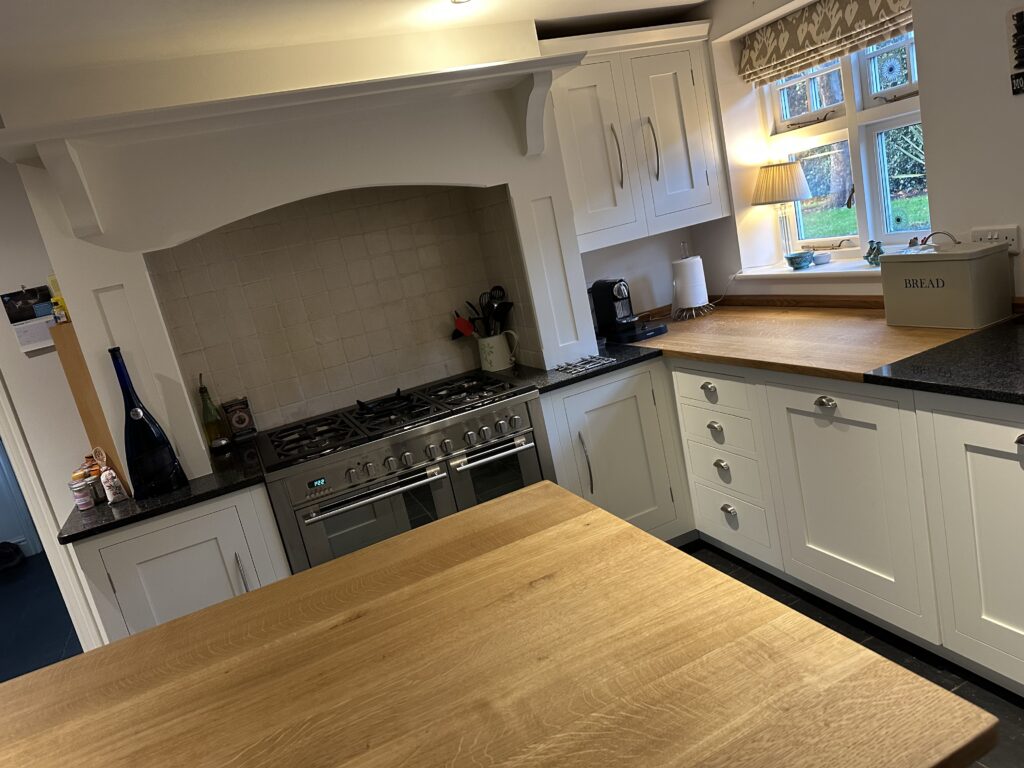
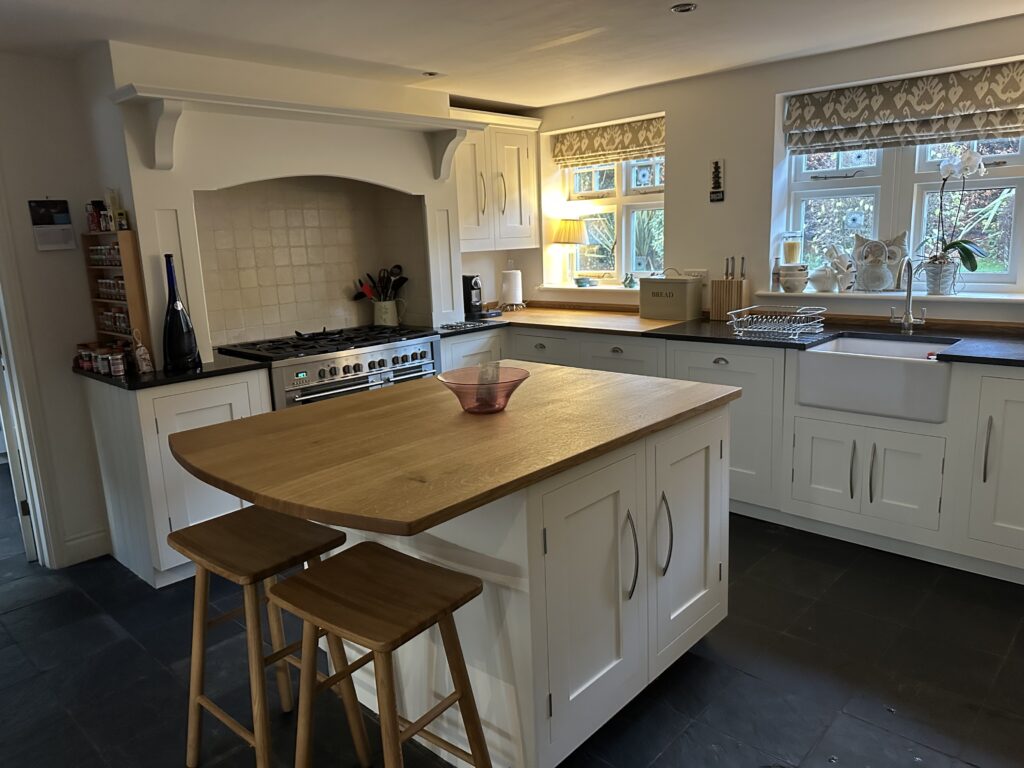
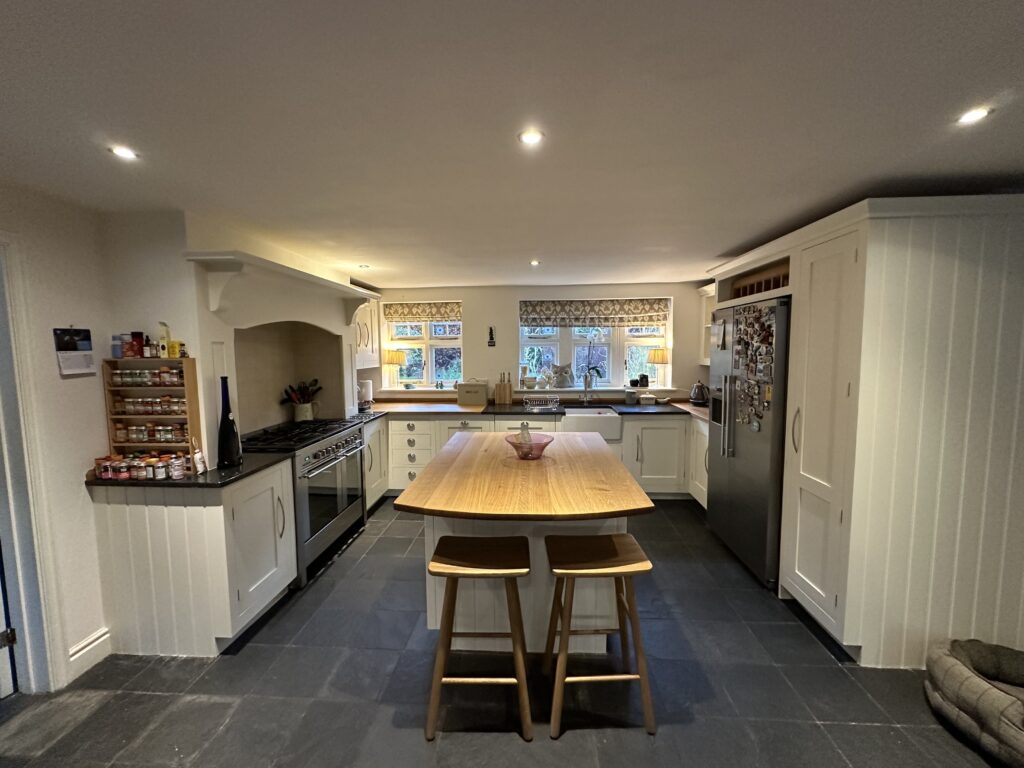
This kitchen in Rolleston-on-Dove, East Staffordshire, was a lovely example of how hand painting the cabinets and refinishing the oak worktops can work together to refresh an established kitchen.
An Established Kitchen Ready for Some Attention
At around 18 years old, this generously sized kitchen was showing the everyday wear you would expect from years of use.
The work surfaces combined granite and solid oak. Granite surrounded the Belfast sink, with oak worktops on either side and a further oak surface on the central island. Altogether, there were approximately five square metres of timber to refinish.
The oak had some staining and worn areas, and parts of the surface had become sticky. Before applying any new finish, I needed to remove the accumulated residue and prepare the timber thoroughly.
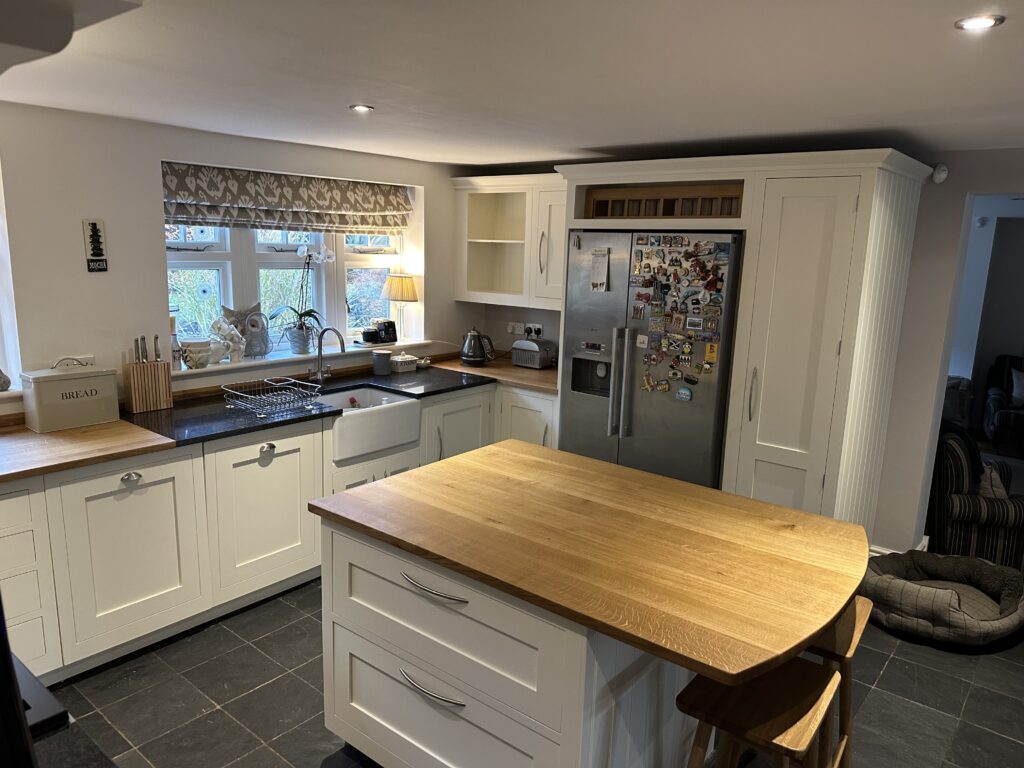
My plan was to sand the worktops first, protect them while the kitchen painting was carried out, and return to apply the finishing oil once the painting was complete. Organising the work in this order helped protect the newly painted cabinetry from the more substantial preparation work.
Careful Preparation and Dust-Controlled Sanding
Over the years, I have invested considerably in professional sanding equipment with dust extraction. It proves particularly useful on projects like this, helping to keep dust under control while working in someone’s home. You can view my page on Dustless Sanding here.
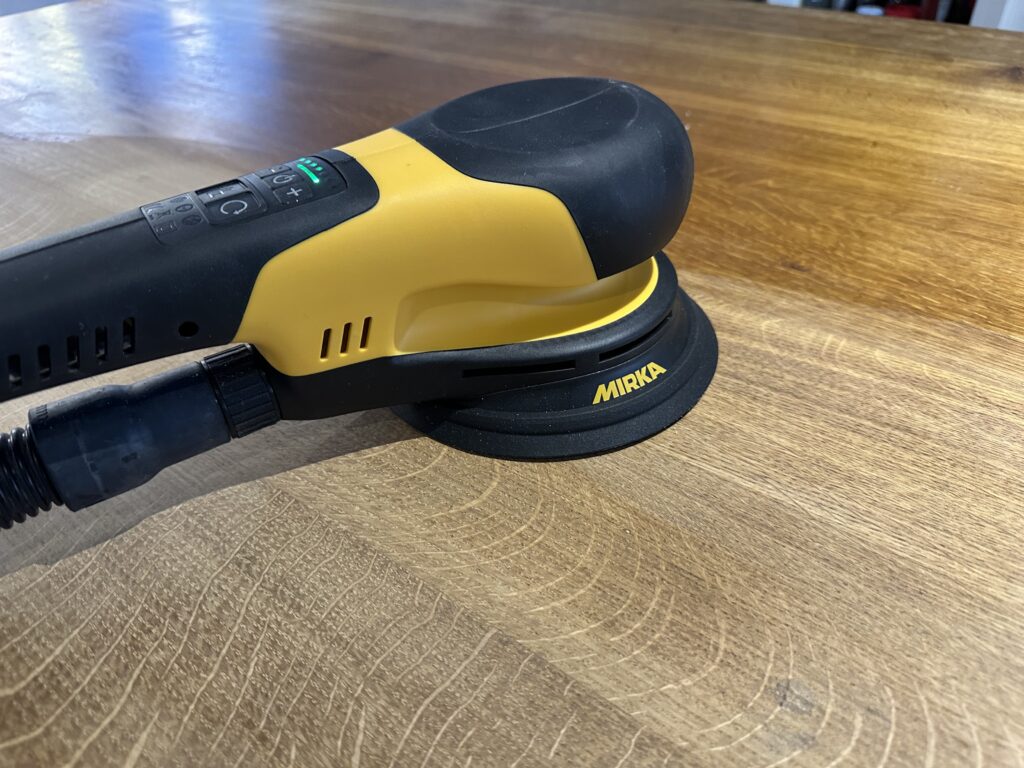
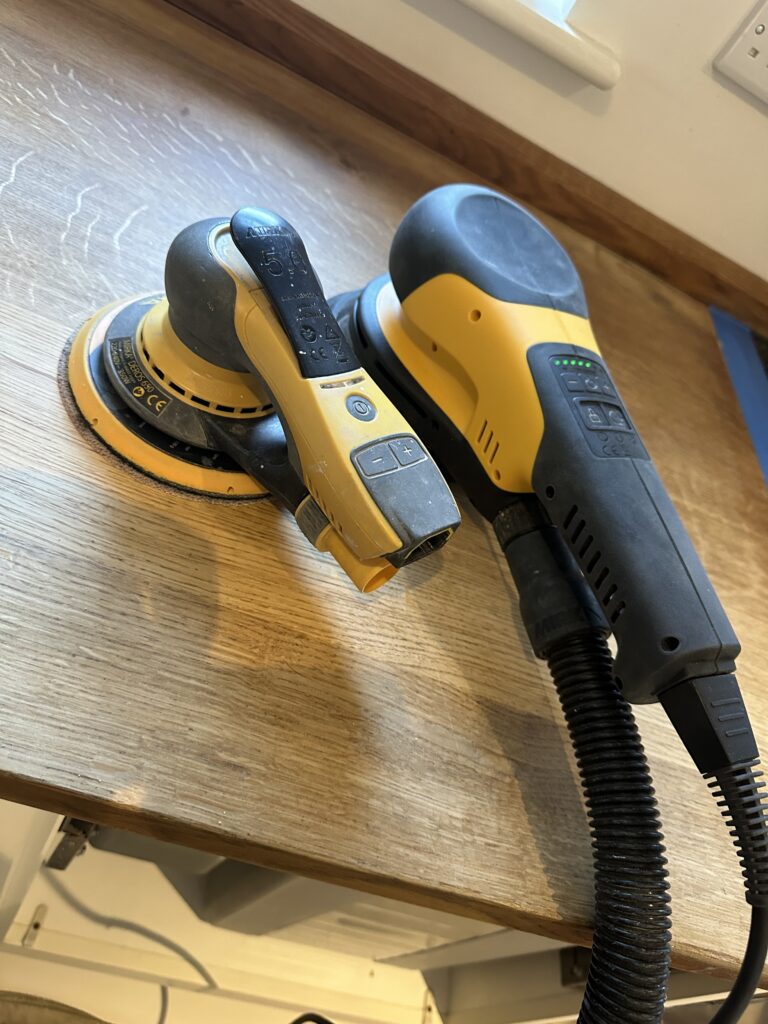
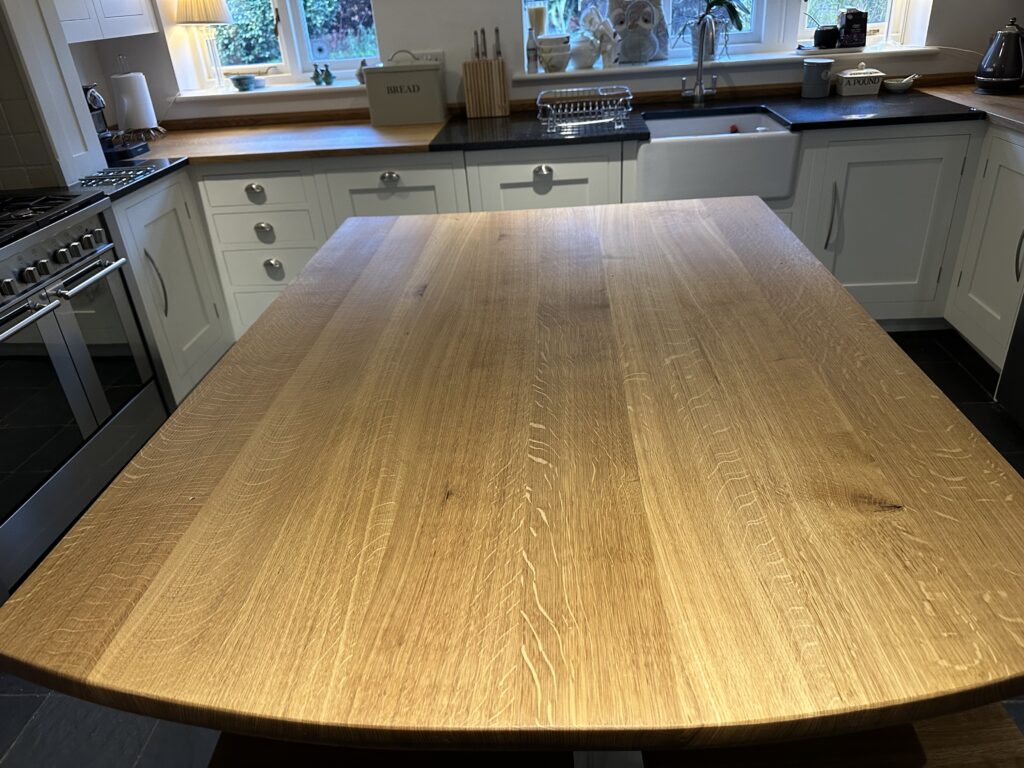
Before sanding, I gave the oak a thorough clean and degrease, then allowed it to dry. Removing surface contamination first also helps prevent the abrasive discs from quickly clogging with greasy or sticky residue.
I then worked methodically across the worktops, removing the worn finish and paying close attention to the edges, corners and areas needing extra preparation.
Sanding is about more than making the surface feel smooth. It is also about removing scratches from the earlier stages and leaving the timber appropriately prepared for the chosen finish. The final abrasive grade needs to suit both the wood and the product being applied.
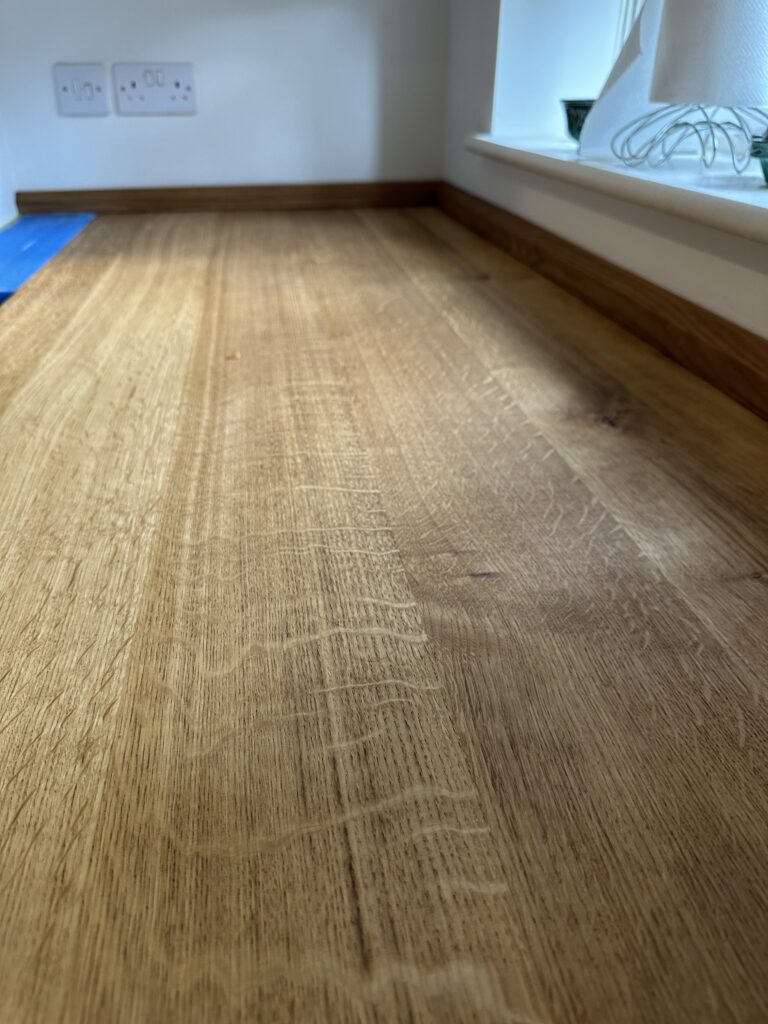
Once the sanding was complete, I carefully vacuumed away the dust and checked the surfaces before covering them with heavy-duty lining paper.
The oak was now protected while attention turned to the cabinets.
What About Staining Around Sinks and Taps?
On this project, having granite around the sink and taps made the work more straightforward, as there was no oak immediately surrounding those fittings to prepare.
Where wooden worktops extend around a sink, these areas often need more attention. Access behind and around taps can be awkward, and removing the fittings may be necessary to prepare the timber properly.
Dark marks also need careful assessment. Surface wear and deeper staining are different problems, and sanding alone will not necessarily remove every mark.
I prefer to assess the condition of the timber at the outset and explain what can realistically be achieved. A good result starts with understanding the surface you are working on.
Hand Painting the Kitchen
The clients wanted to keep the kitchen neutral, so this project was about refreshing the existing room rather than introducing a dramatic colour change.
We removed the doors, drawer fronts and kickboards and took them back to the workshop for preparation and painting.
Meanwhile, I prepared the fixed cabinetry on site. Everything remaining in place was cleaned and degreased, the inside edges of the frames were masked, and adjoining surfaces were protected.
Several areas of minor damage needed filling and repair. These smaller details make a real difference once the finishing coats are applied, so they deserve attention at the preparation stage.
A high-adhesion primer was then applied and left overnight before the next stage.
Over the following days, I worked on the finishing coats in the kitchen while my colleague Sharon prepared and painted the doors at the workshop. Working this way allowed both parts of the project to progress together.
Bringing Out the Beauty of the Oak
With the painting completed, I removed the protective covering from the worktops and prepared them for oiling.
For this type of project, I tend to use Osmo TopOil, a hardwax oil intended for wooden worktops and furniture. It provides a durable finish with resistance to common kitchen spillages, while allowing the character of the wood to remain visible.
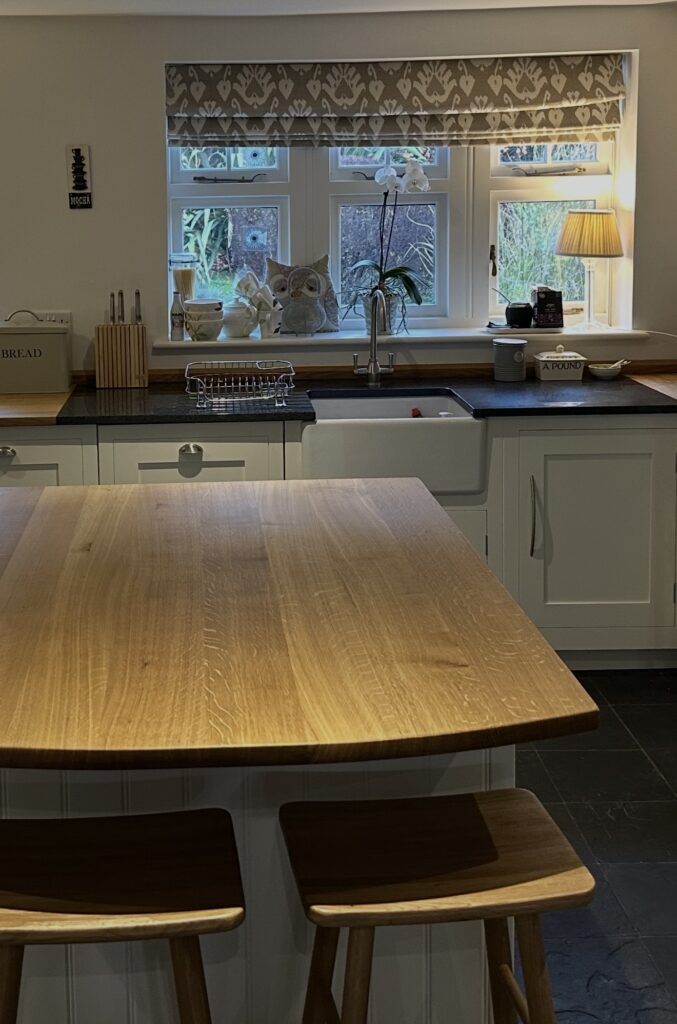
Application needs care. Thin, even coats and suitable drying conditions are important; applying more product does not automatically produce a better finish.
There is something particularly satisfying about this stage. After all the cleaning and sanding, the grain becomes more pronounced and the oak begins to show its warmth again.
Alongside the freshly painted cabinets, those natural tones bring the whole room together.
Refitting and the Finishing Touches
Once the painted components were ready, we returned them to the kitchen, refitted and realigned the doors and drawer fronts, and reinstated the handles and knobs.
These final adjustments matter. Consistent door alignment and carefully fitted hardware help the finished kitchen look properly considered.
The worktops then received their final preparation and finishing coat.
For me, this is where the value of treating the kitchen as a complete project becomes clear. The cabinetry, timber surfaces and finishing details all contribute to the overall result.
Allowing the Worktops Time to Cure
Before leaving, I explain how to look after the newly finished surfaces.
Drying and curing are different stages. Although TopOil’s stated drying time is approximately eight to ten hours under suitable conditions, full curing takes around two to three weeks.
The worktops therefore need continued care after that initial overnight drying period. They should remain uncovered while curing, with good ventilation and protection from heavy use.
Once in everyday use, wiping up spills promptly, avoiding hot pans directly on the timber and following the recommended cleaning routine will help preserve the finish.
Clear aftercare advice is part of the job. I want clients to understand how to look after their kitchen once the brushes and tools have been packed away.
A Fresh Finish Without Replacing the Kitchen
This project did not need a dramatic change of colour to make a difference.
Carefully painted cabinetry and refinished oak worktops gave the existing kitchen a renewed appearance, while retaining the layout and materials the clients already enjoyed.
It is a good example of why I encourage homeowners to look closely at what they have before deciding to replace it. Worn finishes do not always mean a kitchen has reached the end of its useful life.
Sometimes, the right preparation, skilled painting and attention to detail are exactly what it needs.
If you are considering having your kitchen hand painted and your wooden worktops need attention too, get in touch with Russ Pike Interiors. Based in Nottingham, I work across the East Midlands and welcome enquiries about projects in surrounding areas, including East Staffordshire.