
If you are considering having your existing kitchen professionally hand painted, you may be wondering exactly what happens once the work begins.
People sometimes imagine kitchen painting as simply taking off the doors, giving everything a quick sand and applying a couple of coats of paint. Some imagine lots of disruption and layers of dust everywhere!
In reality, there is considerably more to it than a lick of paint and I will give an explanation of how I go about it.
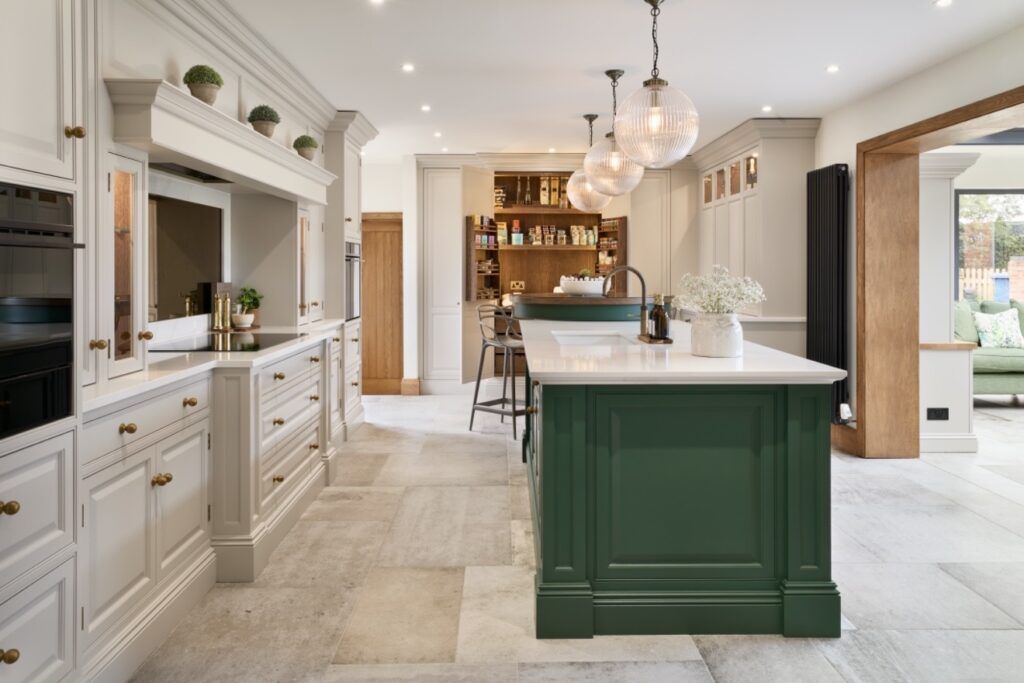
How I Professionally Hand Paint a Kitchen
A successful hand-painted kitchen is built around careful preparation, choosing the correct products, protecting your home, methodical application and paying attention to the small details when everything is finally put back together.
After more than 40 years working as a professional kitchen painter, specialist decorator and fine surface finisher, I still believe that preparation is the foundation of a good finish. Every kitchen is different, so although I have a tried-and-tested process, it is always adapted to suit the cabinetry and existing finish I am working with. (Russ Pike Interiors)
Here is how I approach a typical kitchen transformation.
Stage One: Looking at the Existing Kitchen
Before any paint is applied, I need to understand what I am working with.
Your kitchen may be:
- solid oak
- pine
- ash or beech
- MDF
- previously painted cabinetry
- lacquered or varnished timber
- factory-finished cabinetry
- or another suitable surface.
I also look carefully at the condition of the doors, drawers, frames and fixed panels.
Are there knocks or damaged edges? Has the kitchen been painted before? Is there grease contamination? Are any hinges worn? Do areas need filling or repairing?
These things determine how the kitchen needs to be prepared and also the cost involved.
No two kitchens are exactly the same, and the preparation should reflect the surface rather than applying exactly the same process regardless of what is underneath.
Stage Two: Removing Doors, Drawers and Hardware
Once the project begins, I will number and remove the kitchen doors and drawers together with the appropriate hardware.
On a typical refurbishment, the doors, drawer fronts and removable components are taken back to my workshop, while the fixed frames, cornices, end panels and other fitted elements are prepared and hand painted in your home.
There are several advantages to working this way.
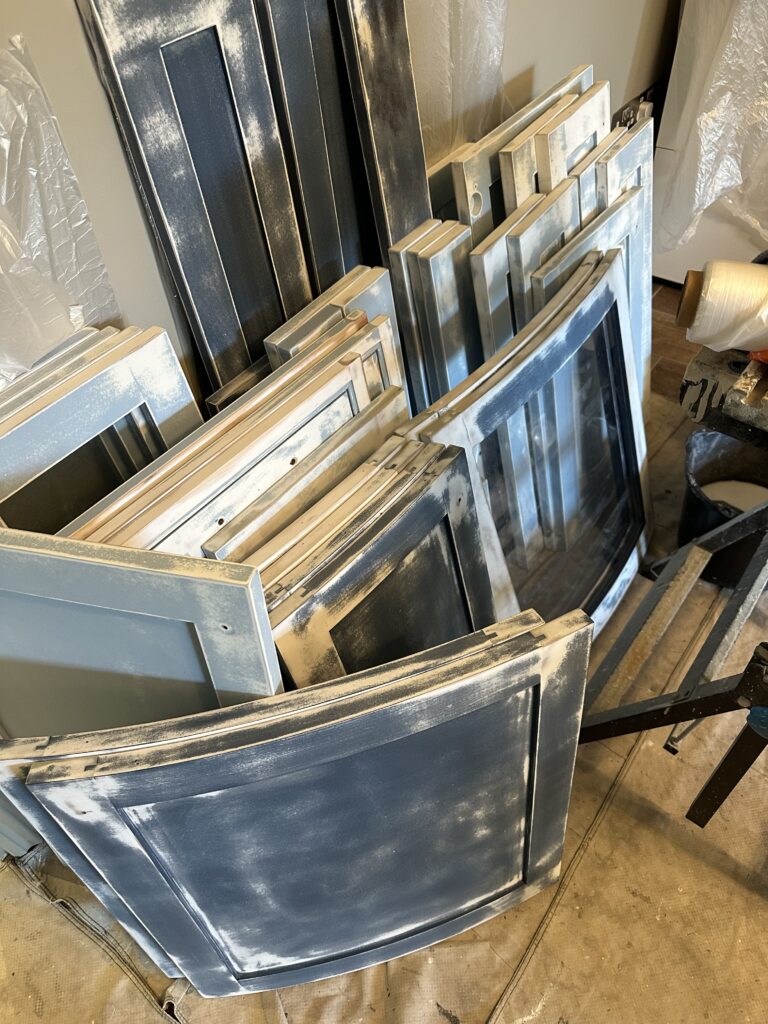
It keeps disruption in your kitchen to a minimum, gives me a controlled environment in which to prepare and finish the doors properly and means they can remain safely in the workshop until the coatings are completely dry and ready for refitting. This is the process I describe on my own refurbishment projects. (Russ Pike Interiors)
Handles, knobs and hinges are also removed at this stage.
If you are changing your cabinet hardware, this is the ideal opportunity to discuss new handles, knobs, cup pulls or hinges before the painting progresses. I can supply you with new cabinet hardware through my recommended Ironmongery suppliers Slingers1858 they offer great discounts to my customers and have a huge range to choose from.
Stage Three: Protecting Your Kitchen
Before I begin working on the fixed cabinetry, the surrounding kitchen needs protecting.
Worktops and adjacent surfaces are carefully covered, and areas that are not being painted are masked as required.
When I hand paint cabinet frames with the doors removed, I can mask the inside edge of the cabinet openings to create a neat working line while protecting the interior of the cupboard.

Protecting the home is an important part of professional kitchen painting.
I am not simply working on a collection of cupboard doors — I am working inside someone’s home, often in one of the busiest rooms in the house. My aim is always to keep the project tidy, organised and as straightforward as possible for the homeowner. You may also continue to use the kitchen during the work, once I have finished for the day.
Stage Four: Cleaning and Degreasing
This is a stage that should never be underestimated.
Even a kitchen that looks perfectly clean will have accumulated traces of cooking oils, grease, cleaning products and general household contamination over the years.
Paint will only perform properly if it has a sound surface to adhere to.
Every kitchen therefore undergoes a thorough cleaning and preparation process before the decorative coatings are applied. I use a variety of abrasive materials to provide a good key to the surfaces whilst being cleaned and degreased.
This is one of the major differences between painting a kitchen properly and simply painting over what is already there.
Stage Five: Repairs and Filling
Once the cabinetry is clean and fully dry, I can deal properly with imperfections.
Depending on the kitchen, this might include:
small knocks and dents
old handle holes
damaged edges
open joints
poor previous paintwork
minor cabinet repairs.
Previously painted kitchens can occasionally require considerably more remedial work, particularly where earlier coatings have been badly applied from DIY attempts or previous painters.
I would always rather spend additional time correcting the surface at this stage than try to disguise imperfections with paint later.
A final finish can only ever be as good as the surface underneath it.
Stage Six: Dust-Controlled Sanding
Sanding plays an important part in producing reliable adhesion, but that does not mean your home needs to disappear under clouds of dust. My dust free sanding equipment comes into action whenever I need to do some serious sanding. I also try to wet sand using special abrasives, which keeps dust to an absolute minimum.
For machine sanding, I use professional dust-controlled sanding systems connected directly to filtered extraction equipment. The dust is captured at the source rather than being released into the room.

Many kitchens do not require aggressive sanding.
Often, what is needed is a controlled light abrasion using the correct abrasive to provide a mechanical key for the coatings that follow.
Where an existing finish is particularly poor, considerably more preparation may be necessary.
This is why I assess each kitchen individually.
Stage Seven: Priming
Once the surfaces are clean, repaired, sanded and properly prepared, the painting can begin.
The first coating is generally the appropriate primer.
Primer performs an important technical role. Depending on the surface, it helps create adhesion, provides the correct foundation for the topcoats and can help isolate issues within certain timbers or previous finishes.
The exact product has to suit the cabinetry.
This is where experience with different surfaces and coating systems becomes particularly important.
On my standard kitchen refinishing process, prepared areas generally receive one appropriate primer coat followed by two topcoats, although some colours and surfaces may require additional coats to achieve the best coverage and finish.
Stage Eight: Fine Sanding Between Coats
Painting does not mean applying coat after coat without doing anything in between.
Once a coat has dried, I lightly sand — or “nib down” — the surface where required.

This removes tiny particles or imperfections that may have settled while the coating was drying and helps create the smooth foundation for the next coat.
It is a small step, but it has a significant influence on the finished appearance.
My website’s dustless-sanding guide describes this light sanding between coats as part of achieving the final smooth finish. (Russ Pike Interiors)
Stage Nine: Applying the Finishing Coats by Hand
This is where the transformation really begins to reveal itself.
My speciality is traditional hand-painted kitchens rather than sprayed kitchens.
The finishing coats are carefully applied by hand using professional techniques developed over many years. High quality Chinex and Monofiliment brushes, specifically chosen for applying water borne coatings.
I use modern, high-quality specialist coatings, including durable water-borne acrylic systems where appropriate, chosen for the demands placed upon kitchen cabinetry.
Modern water-borne technology allows us to combine traditional hand-painting skills with coatings capable of producing a durable, refined finish suitable for everyday use.
For me, this is an important combination:
traditional craftsmanship with modern paint technology.
The intention is not for the kitchen to look mass-produced or overly manufactured.
A beautifully hand-painted kitchen should retain the character of the original joinery while looking carefully refreshed and professionally finished.
What Happens to the Doors?
While I am working on the fixed cabinetry in your home, the doors and drawer fronts are undergoing the same meticulous preparation and painting process in my workshop.
Working on the doors separately means I can prepare them properly, allow sufficient drying time and keep them safe throughout the process.
Only when the coatings are ready do they return to your home for reassembly.
This also means your kitchen is not filled unnecessarily with doors and drawer fronts being worked on. It also means less time travelling each day to your home and more time painting your kitchen.
It makes the process more organised for me and less inconvenient for you.
Stage Ten: Handles, Hinges and Finishing Details
Paint colour alone can transform a kitchen, but cabinet hardware can make an enormous difference to the final appearance.
You may decide to retain your existing handles, or you can use the refurbishment as an opportunity to introduce something completely different.
If new handles have different fixing positions, existing holes can be filled and new positions carefully templated and drilled.

Hinges are checked as the kitchen is reassembled, and worn or damaged components can be addressed where required.
On previous Russ Pike Interiors projects, this final stage has included replacing damaged hinges, refitting cabinet hardware and checking drawer mechanisms as part of putting the kitchen back together. (Russ Pike Interiors)
Stage Eleven: Refitting the Kitchen
This is one of the most satisfying parts of the whole process.
The finished doors and drawers return from the workshop and the kitchen begins to come back together.
Handles and knobs are fitted, doors are rehung and drawers are reinstalled.
But I do not simply hang everything back where it came from and consider the job finished.
Doors need to be checked for:
alignment
even gaps
correct closing
hinge adjustment.
Drawers should also operate as they should.
Your kitchen needs to function properly as well as look beautiful.
That final adjustment and inspection is an important part of completing the job.
Choosing Your Colour
Of course, somewhere before the finishing coats are applied, there is one very enjoyable decision to make:
the colour.
Changing the colour can completely alter the character of an existing kitchen.
Warm creams and stones can brighten traditional cabinetry, soft greens and blues can create a relaxed feel, while deeper shades can give islands, dressers or entire kitchens considerably more character. You can read through my guide Choosing Colours for Kitchens here.
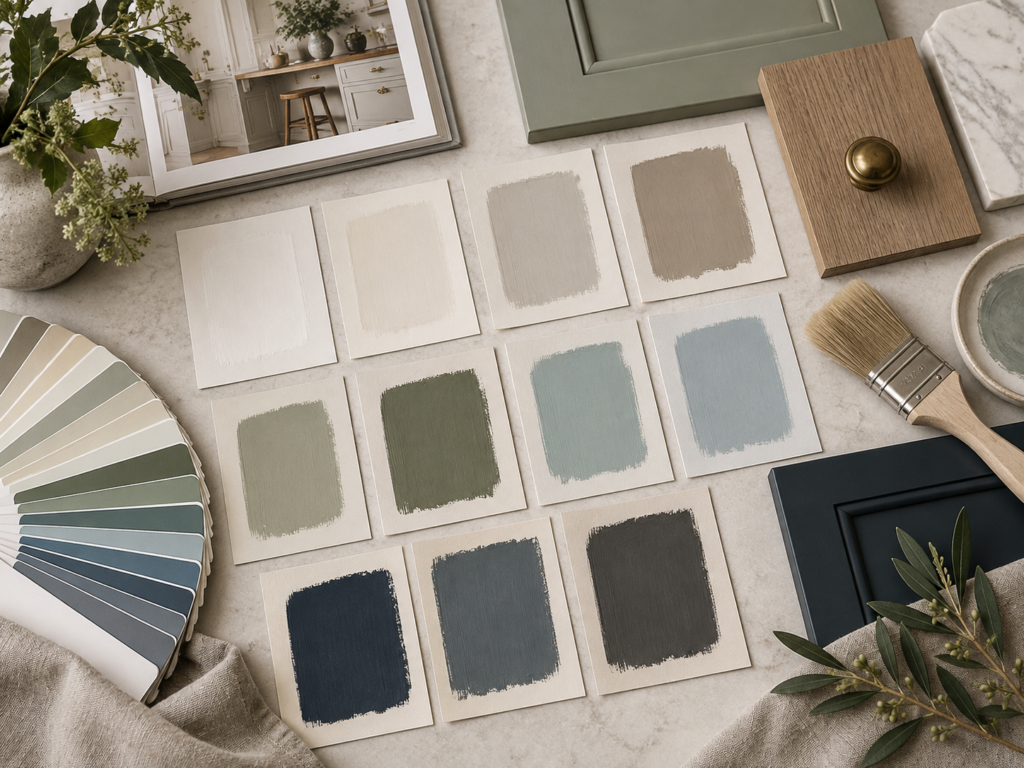
The specialist systems I use can be matched to many popular designer and heritage colour palettes, so the possibilities are extensive.
I am always happy to discuss colours and how they relate to the worktops, flooring, lighting and character of your home.
How Long Does the Kitchen Painting Process Take?
This is understandably one of the questions homeowners ask.
There is no sensible one-size-fits-all answer.
A modest kitchen with straightforward cabinetry will obviously differ from a large bespoke kitchen containing glazed cabinets, islands, dressers, cornices and dozens of doors and drawers.
The existing condition also matters enormously.
A sound kitchen with a good existing finish may require relatively routine preparation. A badly painted kitchen requiring extensive remedial work can take substantially longer.
My priority is not to rush through the stages simply to achieve the fastest possible turnaround.
It is to follow the preparation and finishing process required to produce the standard of work I am happy to put my name to.
Preparation Really Is the Secret
Customers naturally notice the colour and finished appearance.
As a painter, however, I tend to notice everything that happened before the final coat.
Cleaning.
Sanding.
Filling.
Repairs.
Priming.
Nibbing between coats.
Masking.
Protecting the surrounding home.
Those stages might not produce the glamorous photographs, but they are fundamental to a professional result.
That is why I regularly say:
Preparation is key.
After more than four decades in the trade, that principle has not changed.
A New Kitchen Without Starting Again
One of the reasons I enjoy this work so much is seeing the final transformation.
A kitchen may have been fitted 15, 20 or even 30 years ago and still be beautifully constructed.
The layout works.
The cabinetry is solid.
There may be absolutely nothing wrong with it other than the fact that the finish has become tired or the colour no longer suits the home.

Professional hand painting allows us to keep the quality that is already there and completely change the way the kitchen feels. Painting your existing kitchen is a great way to achieve a truly bespoke look.
Rather than replacing everything, we restore, refine and reimagine what you already own.
And once the doors are rehung, the handles fitted, everything aligned and the protection removed, that is when all those individual stages finally come together.
It is still your kitchen.
It simply feels completely new again.
Professional Hand-Painted Kitchens in Nottingham
I’m Russ Pike, a City & Guilds Advanced Craftsman and specialist kitchen painter based in Nottingham.
I specialise in the professional hand painting and refurbishment of existing kitchens, newly installed bespoke cabinetry and furniture, combining meticulous preparation, traditional skills and modern specialist paint technology.

If you have a quality kitchen in Nottingham, Nottinghamshire or the wider East Midlands that you would like to transform, I would be very happy to discuss the process and what could be achieved. Please feel free to Get in Touch to discuss your project in more detail and how much it would cost.